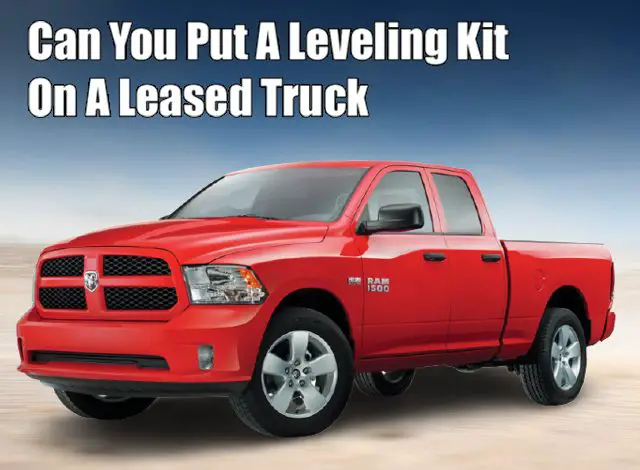
Can You Put a Leveling Kit on a Leased Truck
A leveling kit is the suspension upgrade material used to improve performance and get an attractive look by adjusting larger tires. One more purpose of using leveling kit on a truck is to enhance ground clearance. The kits are the spacers fastened on the top of the struts.
Can you put a leveling kit on a leased truck? Yes, you can use leveling kit on a leased truck because they are reversible and easy to remove. You can do all the modifications on leased trucks that are easy to get rid of. But you have to be within the limit as the use of leveling kits can affect your tires and engine performances.
Can you put a leveling kit on a leased truck?
A leveling kit can be put on a leased truck with little limitations while driving. The easy and quick procedure of installing leveling kit enables it to fix it on a leased truck.
You can do all types of changes on a leased truck that are changeable can be removed with no trouble. You can read our other article about how leveling kit affects your truck.
Sometimes changes within the truck can affect its permanent performance or can be dangerous in a long run. That’s why it is recommended to drive the leased truck carefully.
Things that can be affected by your modification of leveling kit includes the following:
- Alignment
- Fuel performance
- Tires
- Shock absorbing limit
- Handling (grip) and reliability
- Off-road performance (ride quality)
Procedure to put a leveling kit on a truck
Here in this article, we have explained a complete procedure to install leveling kit on a truck. We have also compiled a list of essential tools/equipment to put a leveling kit.
Required Apparatus:
- Pry bar
- Screwdriver
- The wrench of specific sizes
- Sockets (according to requirement)
- Arm puller
Follow the given step by step procedure to install a leveling kit on a truck:
Remove the tire
Just before removing the tire, you have to loosen up the nuts of the tire by jacking up the truck. Use this microfiber cloth to avoid scratches.
Some tires have a center cover above the nuts, so remove this cover using a flat screwdriver.
Jack up the truck high enough to view and examine the sway bar and connecting arm.
Sway bar and ball joint
To unbolt the sway bar, use the link between the control arm and bar. This is an easy way but if you do this by directly approaching the sway bar that’s also possible.
After this loosen up the ball joint. Don’t completely remove it as you can use a hammer to kick out the ball.
You can also read about ball joint life span.
Lose them enough so that they can be separate by pulling them out. While hitting the hammer to the spindle, do it carefully or you are going to harm the suspension.
Lower strut bolt
Use the socket of a certain size and hold the nut from the end by a wrench. Sometimes it is difficult to remove this bolt because of its tight-fitting and maybe you have to call a mechanic to open this.
From the opposite end, the wrench you are using for holding the nut can be difficult to handle. Call some other person to assist you with this.
There is the possibility of installing spacers without doing this step but then you have to pull the strut downward.
Wheel spindle
Try to balance the control arm in a little elevating position for better results. Use a jack stand for this purpose on some steep slide.
Remove the nut of the upper ball joint and to balance the spindle use some ratchet or strong line.
While moving the spindle wheel use this pry bar to avoid any flopping with the other body parts.
Strut nuts
Nuts at the top of the strut need to be removed as a final step. As we have already removed the lower nuts of these so be careful while removing these and remove them slowly.
Now, replace the jack stand wisely while allowing it to give enough space to be out of the strut.
Lower this and here you can put the spacers or leveling struts at the top of the strut to install.
Installing leveling kit on a leased truck
Always use the spacers of the size which suits your truck otherwise your alignment would be damaged. Tighten up these and close the nuts of everything you have opened.
Tighten up components very carefully, you know all these are in direct relation with the suspension. Any harm to the suspension can cause damage to the front part of the truck.
Instructions after putting leveling kit on a truck
You are going to feel some jerky things after installing the leveling kit and this is common after doing the change to suspension components.
This is because the change in the control arm angles and other front parts are responsible for this. So, you must be careful to handle these bumpy things. As the tire size also increases so it takes to be usual as before.
Read also;
How often should you grease your pickup truck